Reading a forest edge
A forest edge is a transition rather than a line. Its width, vertical structure, adjacent habitats, and disturbance history influence which organisms use it, while some forest specialists depend on conditions farther inside.
Last updated
Map the transition, not just the tree line
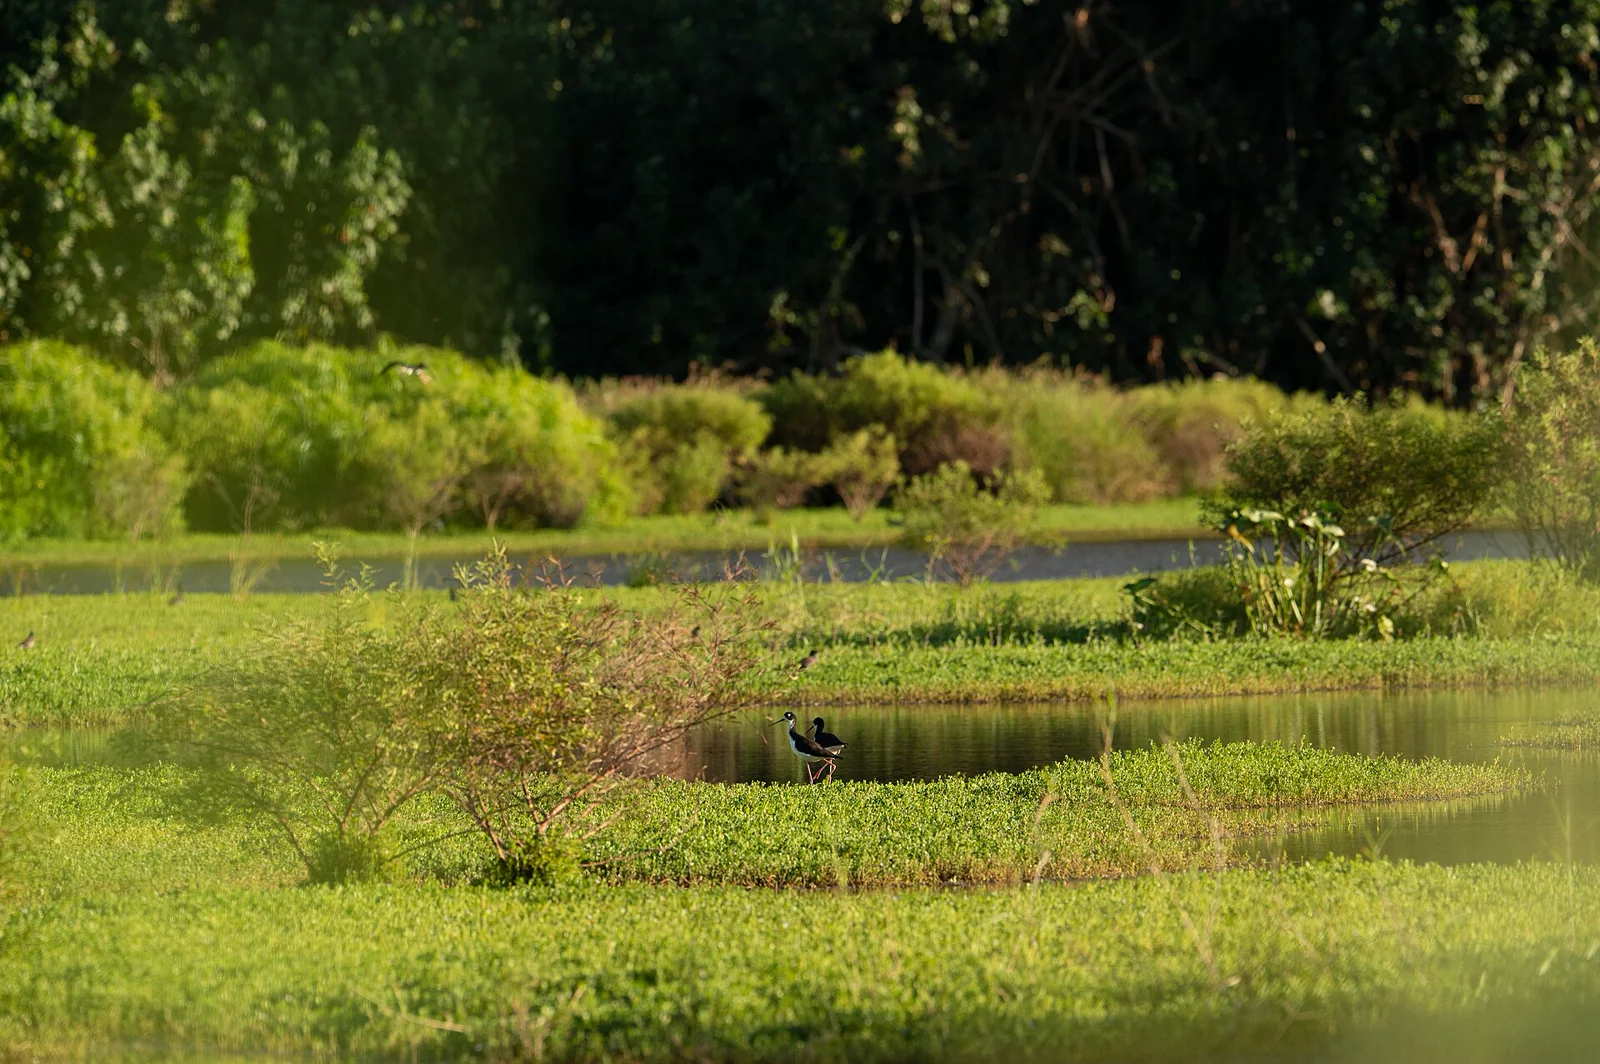
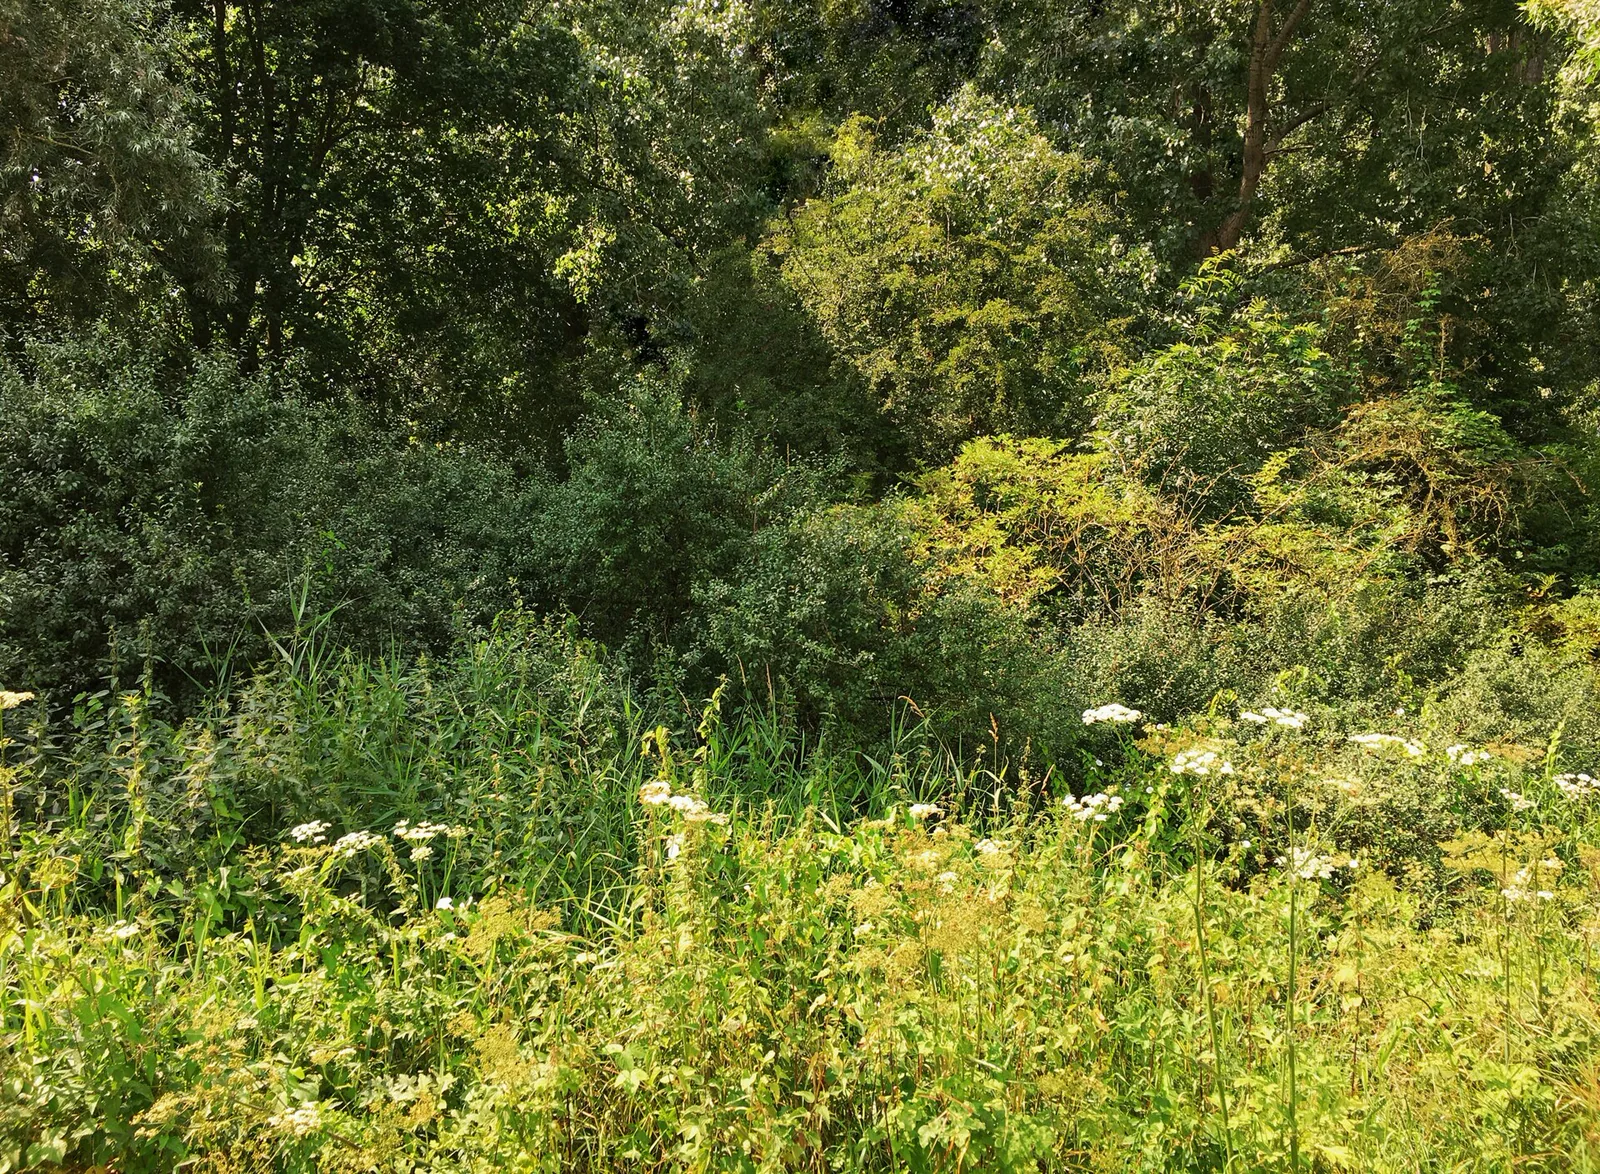
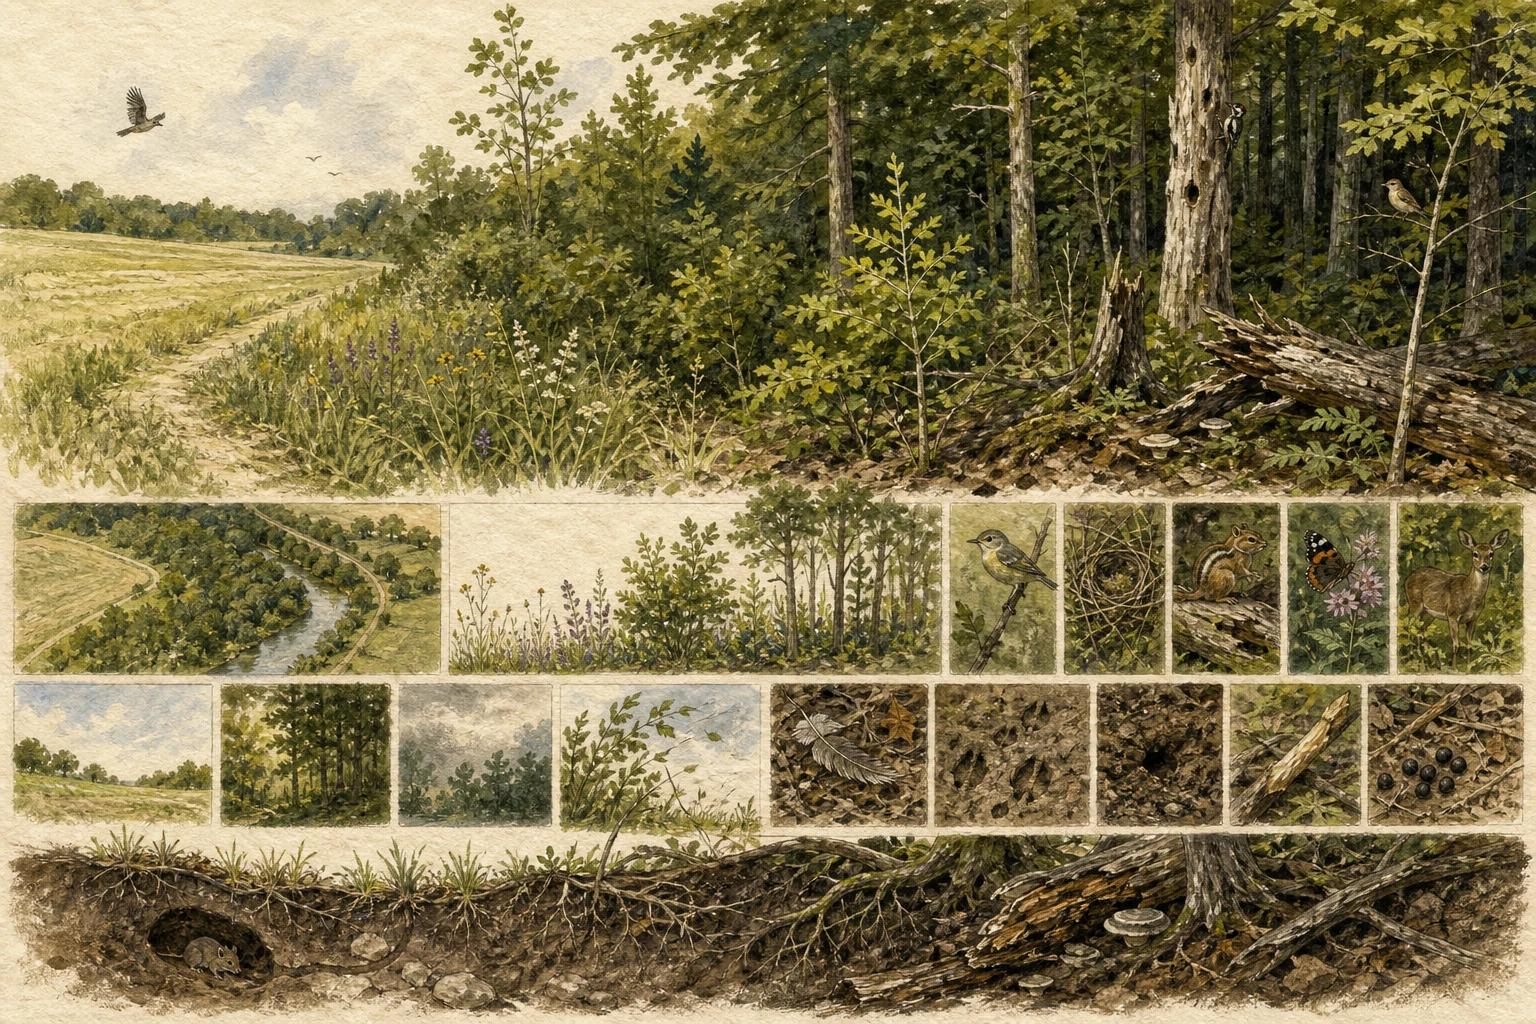
An abrupt hard edge runs directly from mown turf, pavement, or cropland into mature tree trunks, whereas a soft or feathered edge steps gradually across tall grasses, flowering forbs, brambles, fruiting shrubs, and young saplings before reaching the high canopy. Trace the horizontal geometry of the boundary—noting scalloped bays, jutting peninsulas, canopy gaps, trails, and streams—as well as the habitats meeting on both sides. Because edge microclimates shift with compass aspect, prevailing wind, and clearing history, avoid letting a single short segment stand for the entire woodland perimeter. [1][2][5]
- Estimate the width of each vegetation band rather than drawing one line.
- Record whether the edge is natural, planted, mown, grazed, burned, or recently cut.
- Compare sunny and shaded sections before describing the edge as uniform.
Read the vertical layers
Examine each vertical stratum in turn: leaf litter and herbaceous ground cover, dense shrub tangles, midstory saplings, lower canopy limbs, upper tree crowns, standing dead snags, and coarse downed wood. A well-layered transition provides foraging substrates, concealed nesting forks, escape cover, and elevated singing or hawking perches in close proximity. At the same time, structural complexity means different things to different animals: dense bramble thickets that shelter towhees, catbirds, and cottontails will not replace the open subcanopy airspace or deep damp leaf litter required by forest-interior salamanders and thrushes. [1][2][3][4]
- Scan each height band slowly instead of watching only the canopy.
- Note flowers, fruit, seeds, browse, cavities, loose bark, and decaying wood.
- Describe cover density as patchy, continuous, or open at each layer.
Compare edge and interior evidence
Pair your boundary observations with an equal timed watch from a permitted trail point deeper inside the forest stand. Compare sunlight penetration, wind movement, air temperature, understory stem density, bird vocalizations, mammal tracks, and browse sign between the two stations. High wildlife visibility along a sunlit border does not mean converting more woodland to edge improves the ecosystem: forest fragmentation shrinks shaded core habitat, alters humidity and soil moisture over tens of meters into the stand, and affects edge-tolerant generalists very differently from area-sensitive interior specialists. [2][4][5]
- Keep observation duration and time of day comparable between points.
- Separate an animal crossing the edge from one feeding or resting there.
- Treat silence during one visit as an observation, not proof of absence.
Build a repeatable edge record
Take reference photographs looking both parallel to the margin and straight across the transition from fixed landmarks, then log date, sky conditions, season, recent mowing or brush clearing, human foot traffic, and leashed or off-leash dogs alongside your observation effort. Revisiting the same stations across the year reveals how spring insect flushes on sunlit oak leaves give way to summer berries, autumn mast, and winter thermal shelter in evergreen pockets. Stay on designated paths and watch active cavities, songbird nests, and bedding cover from a respectful distance. [1][2][3]
- Use the same map points and viewing direction on later visits.
- Write visible habitat features before interpreting animal use.
- Do not prune, clear, bait, or rearrange cover to improve a view.
Related guides
Get Fauna and identify it in the field.
Where this guide comes from
Source-checked editorial guide. Last updated . This guide teaches identification and field skills; it is not a substitute for expert verification when it matters.