


Choose one subject
Centre a single animal, plant or fungus so it is clear what to identify.

Photograph any animal, plant, or fungus and Fauna names what you found. Then choose what belongs in your field journal.
Centre a single animal, plant or fungus so it is clear what to identify.
Get closer than feels necessary — close enough to show its shape, markings and detail.
Keep the subject sharp and evenly lit. A steady wide shot beats a blurry zoomed one.
Photograph from a respectful distance. Never chase, corner, touch or disturb an animal.
Choose a subject to see the angles and details that help most. Use these examples to choose your clearest photo.
The biggest difference a second photo makes. A cap seen from above could be dozens of unrelated species.
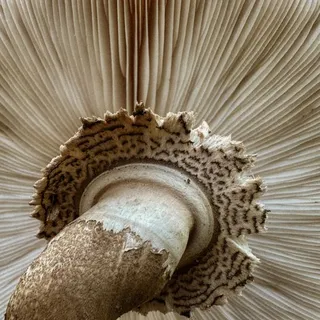
Gills, pores, teeth or wrinkles set the family before any species call is possible. This is the single most useful photo you can add.
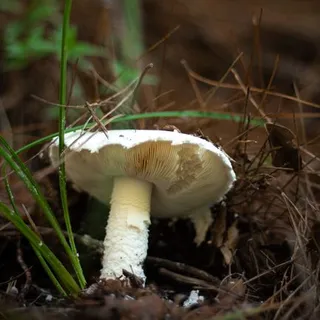
The ring and the cup-shaped base are what separate a deadly mushroom from an edible lookalike — and the base is usually buried.
Gently lift one and brush the soil off. Leave the rest where they are, and check local rules — many parks don't allow collecting.
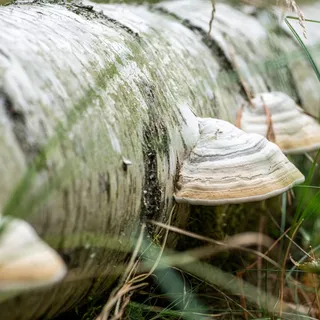
Growing on wood, in soil or out of leaf litter is a hard constraint on what it can be.
The whole-plant shot people instinctively take is usually the least useful one.
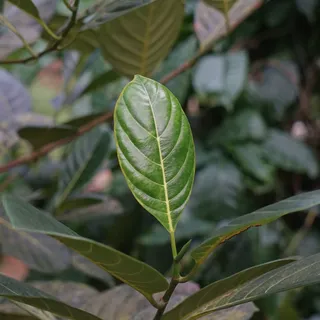
Leaf shape, plus how the leaf attaches to the stem, is the main character when there are no flowers.
Look, don't touch — some plants irritate or burn the skin.
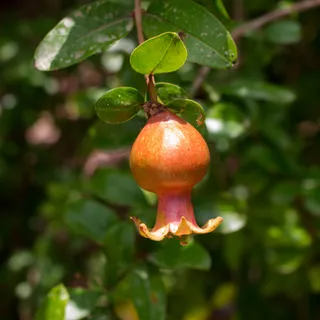
Reproductive parts are the most decisive structures. Flowers or fruit together with leaves is the most useful combination there is.
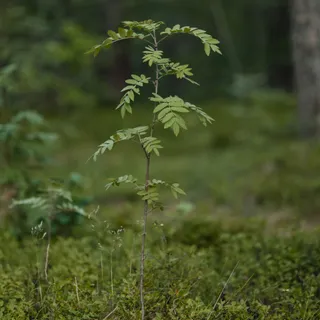
Habit, height and branching separate lookalike relatives and give a sense of scale.
Most of what tells one insect from another sits on the side you cannot see.
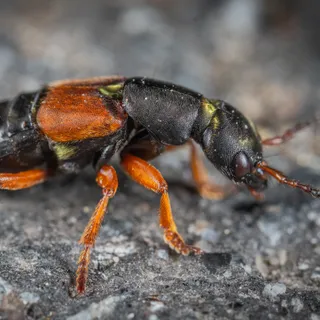
A side-on view shows body structure and leg proportions that a top-down shot flattens away.
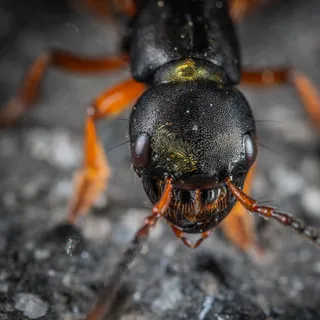
Antenna shape and eye position narrow it down to a family. Colour varies too much within one species to go on.
Zoom rather than lean in. Some caterpillars sting.
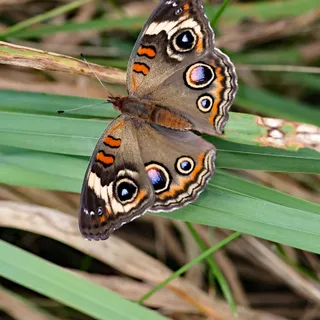
For butterflies and moths the upper and under wing surfaces are often completely different, and only one is showing at a time.
Wait for it to open them on its own.
Markings are a poor guide with spiders. It is usually the eyes that settle it, and they rarely show in the first photo.
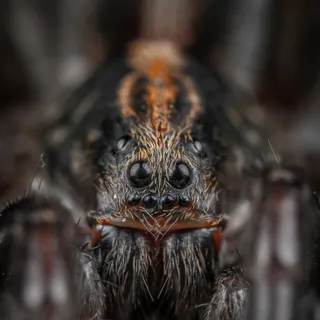
Eye number and arrangement is how spider families are keyed. Colour and pattern overlap heavily across unrelated species.
Use zoom. Don't put your face near a spider you can't identify.
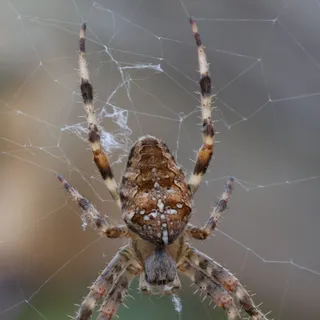
Carapace pattern, leg banding and body proportions.
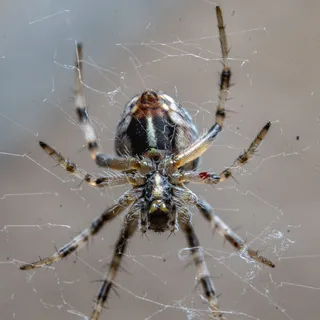
The hourglass marking sits on the belly, and widows rest upside down — so it's often already facing you.
Only if it's already showing. Never turn a spider over.
The parts behind the bloom carry the identification, and the overhead shot hides all of them.
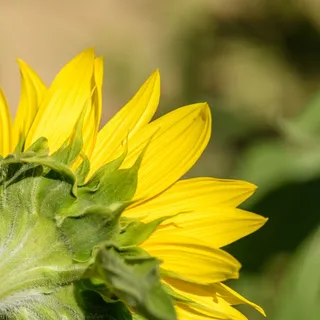
The sepals and bracts sitting behind the flower are diagnostic, and an overhead shot hides them completely.
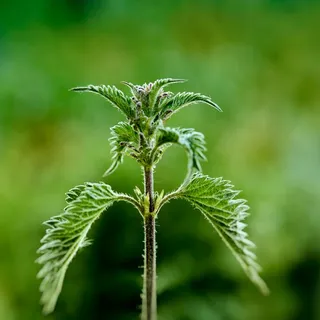
A flower on its own rarely separates species within a genus. The foliage does.
Look, don't touch — and don't pick. Many species are protected.
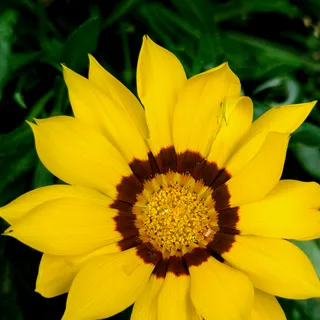
The arrangement at the centre separates close relatives, especially in daisy-like flowers.
The head carries most of what a photo can tell you, and zoom will get you there from a safe distance.
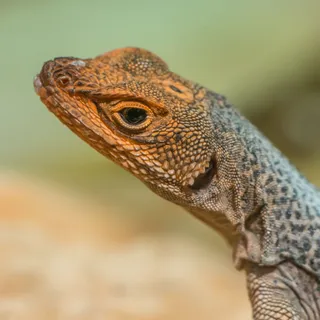
The arrangement of scale plates on the head is the primary character for snakes and lizards.
Zoom from where you are. Don't close the distance.
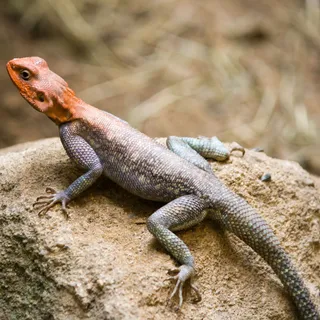
Dorsal pattern and whether the scales are keeled or smooth.
From a safe distance, and never step around the animal to get the angle.
Everything useful here is visible from above. Nothing requires picking the animal up.
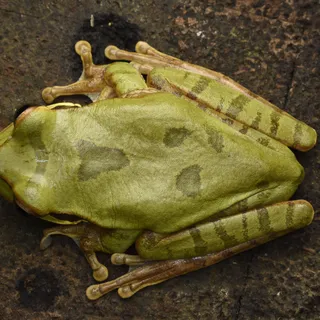
Whether it has ridges running down its back is a genus-level split, and it only reads from a true overhead angle.
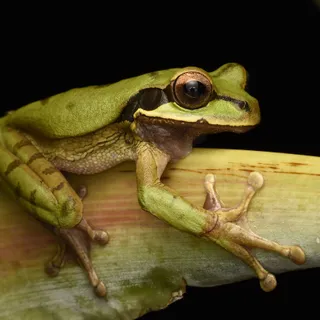
How much webbing there is between the toes, and the shape of the toe tips.
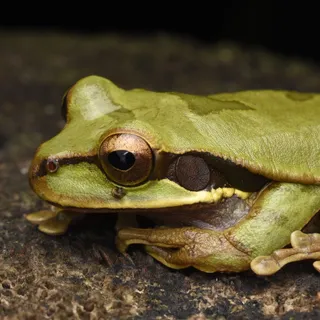
Eye stripe, and the size of the eardrum relative to the eye.
Shells and sea slugs look like different animals from above and below, so one photo tells half the story.
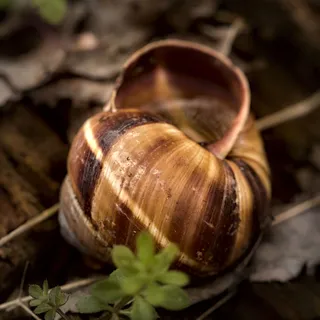
For snails and shells the shape of the opening is one of the two most useful features.
Only if it's already visible.
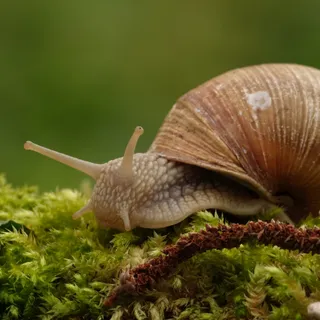
Tentacles, gills and eyestalks are the primary characters for sea slugs and many others.
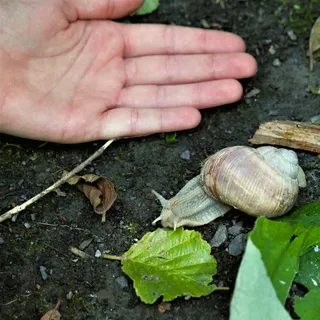
This is the group where absolute size is genuinely diagnostic and genuinely hard to judge on featureless sand or rock.
The usual side-on shot is already the right angle. What normally goes wrong is glare, water or a half-hidden fish.
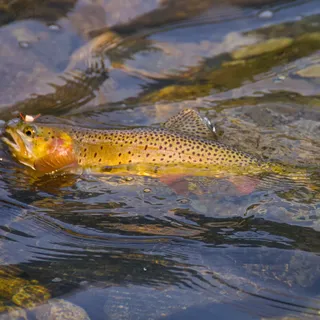
The whole body in profile with the fins open shows nearly everything an identification needs.
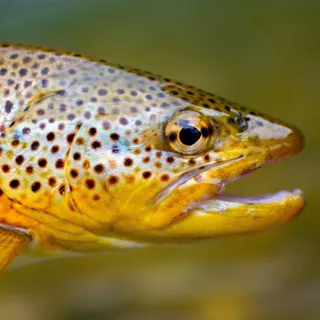
Mouth position and jaw length separate lookalike pairs better than colour does.
For most mammals a second photo won't change the answer — but it will make a better journal entry.
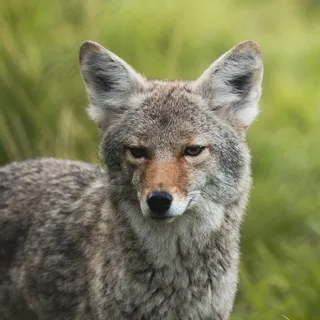
Muzzle shape, ear size and face markings carry most of what a photo can give. Body outline alone is ambiguous.
Use zoom. Never close the distance on a wild mammal.
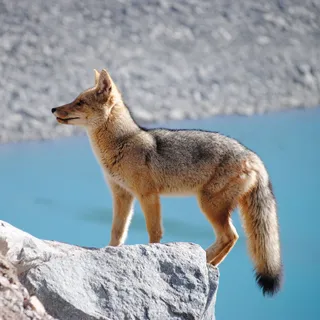
Tail length relative to the body is a standard character, and it's often cropped out of the first shot.
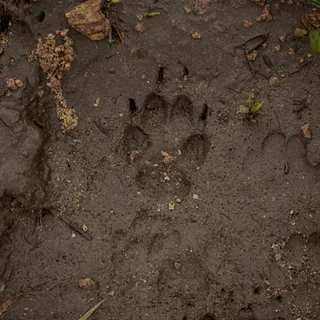
For shy or night-active mammals this is often the only usable evidence, and it's the one extra shot you can reliably get.
For a distinctive bird the first photo already has everything. The shots that would help can't be summoned.
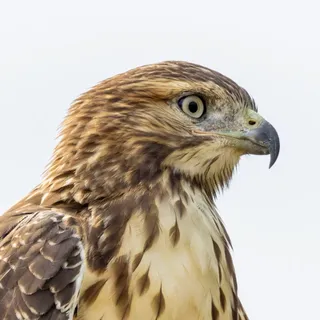
Bill shape and proportion, plus leg colour, are what separate the genuinely difficult groups.
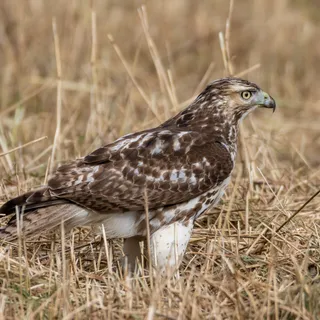
Wing bars and feather edges.
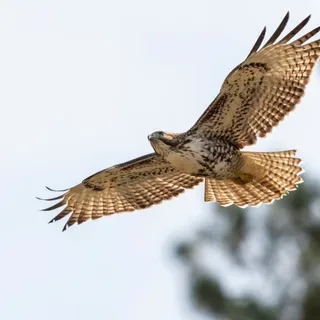
The underwing and tail pattern are the most diagnostic features in hard groups, and visible only from below in flight.
Only if it leaves on its own. Never flush a bird to photograph it.
Build confidence in what you find outdoors. Learn to separate lookalikes, read tracks and seasonal clues, and observe wildlife safely.