How to photograph wildlife for ID
A photograph that identifies an animal is a different photograph from one that flatters it. Both are governed by the same rule: the subject comes first.
Last updated
The subject comes first
Every serious code of practice starts here, and they converge on the wording from opposite sides of the world. Audubon and the North American Nature Photography Association say do not distress wildlife and use a lens rather than your feet. BirdLife Australia: the welfare of birds always comes first. The Ornithological Society of New Zealand's photography code puts it in the language of a rule — welfare shall always take precedence. When bodies that share no jurisdiction reach the same sentence, it is not a house style. [1][2][3][5][6][7][8]
- Avoid baiting, live bait, and calls used to lure wildlife; many codes discourage playback, and local rules may prohibit it
- Never approach or disturb nests, dens, or roosts
- Learn and obey the rules of the place you are standing in
- On New Zealand public conservation land, drone use requires a DOC concession. Standard conditions require takeoff and landing at least 100 m from wildlife and flight at least 50 m away; marine mammals require at least 150 m horizontal separation, and flights over roosting or nesting birds are prohibited
Distance protects the subject
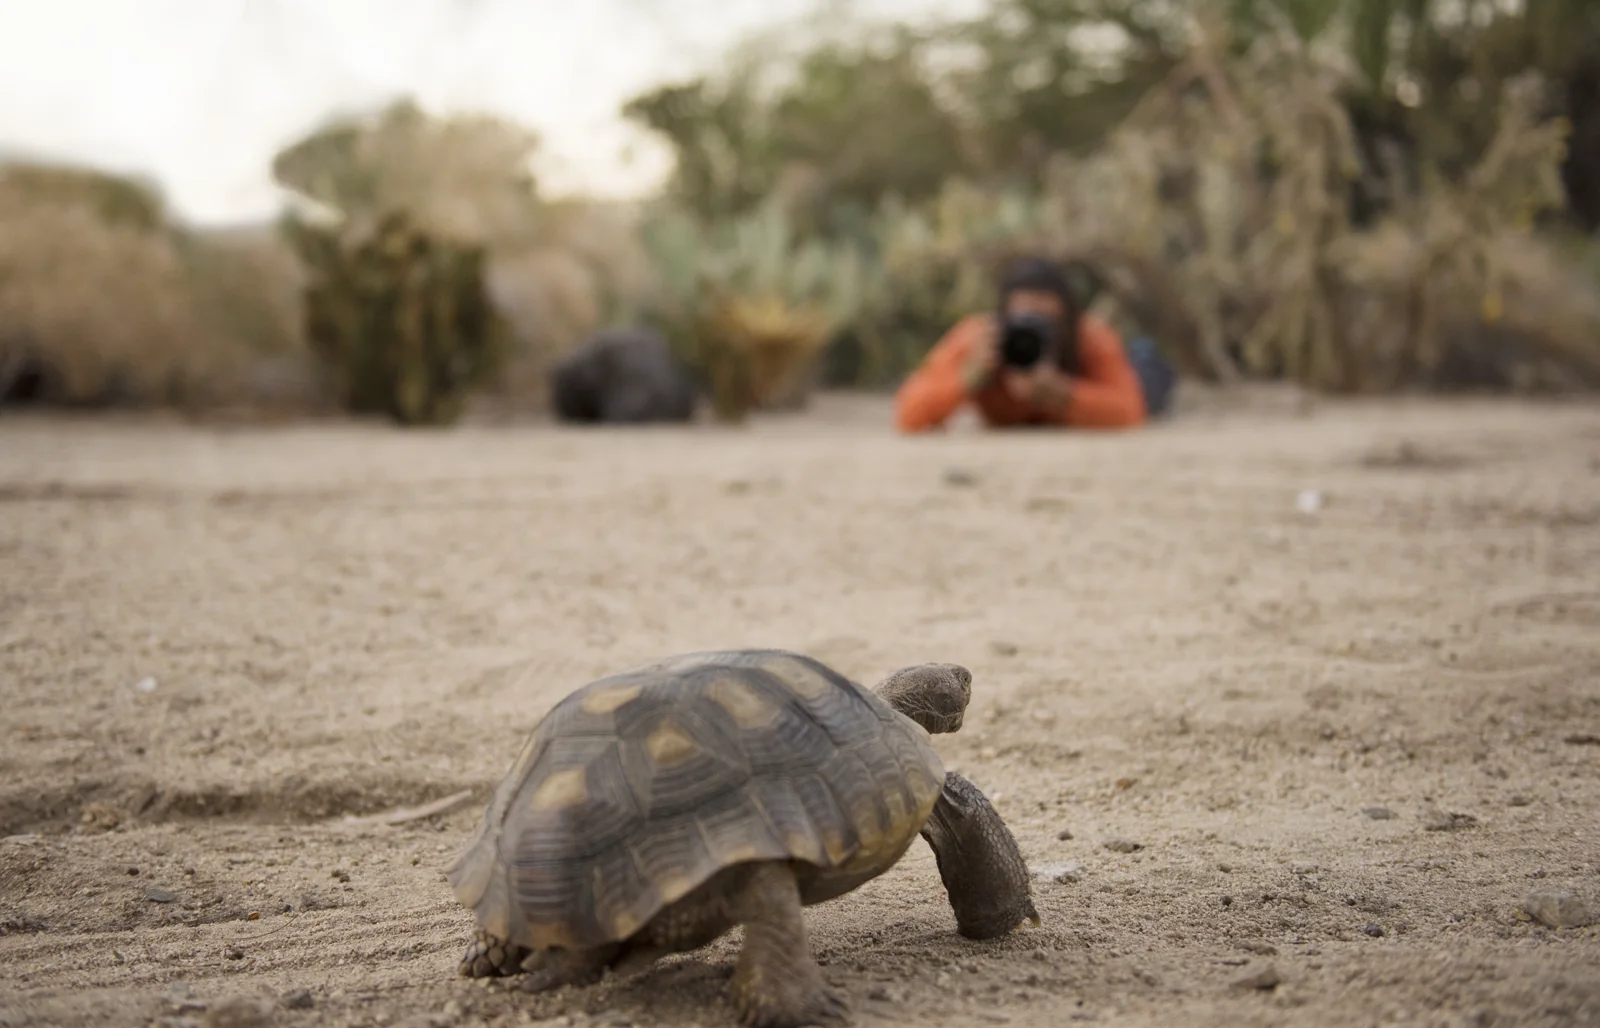
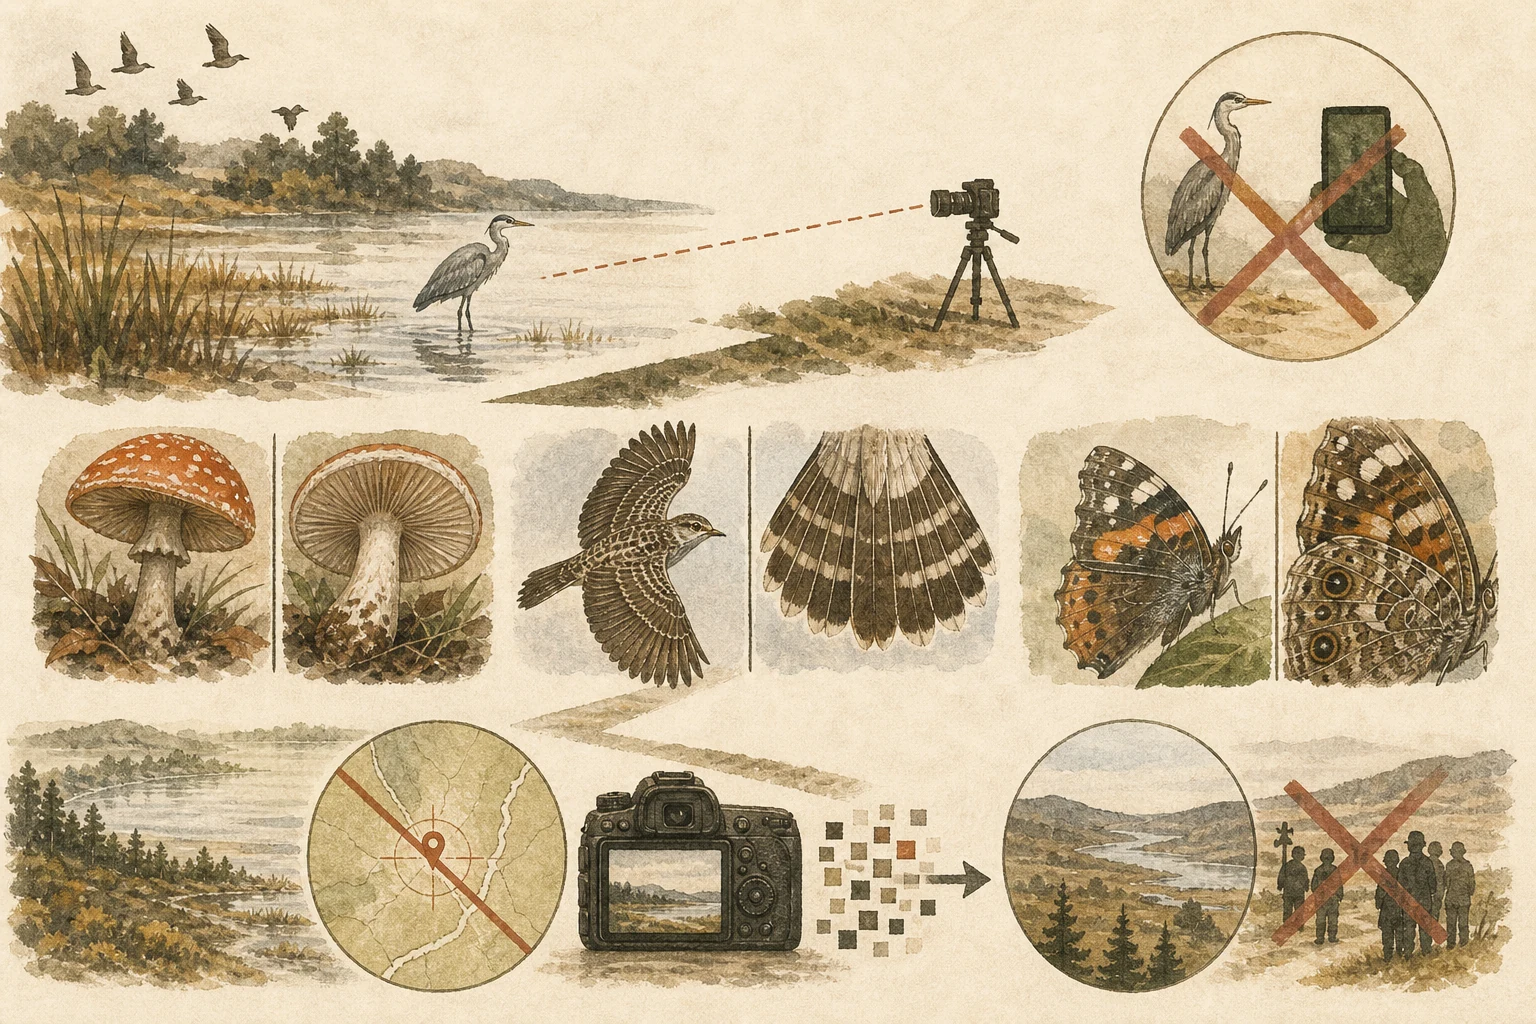
Zoom rather than step. The Park Service puts it about as memorably as it can be put: if you are close enough to take a selfie, you are way too close. Beyond safety, a stressed animal behaves abnormally, which means a close photograph is often a worse record than a distant one. [2][3]
- Use a telephoto lens, spotting scope, or crop in post-processing rather than closing physical distance
- If the animal stares at the camera, freezes, interrupts feeding, or gives an alarm call, step back immediately
- Never block an animal's line of travel along a trail, shoreline, or water source
The shots that identify
Identification usually turns on one feature — the underside of a mushroom, a tail shape in flight, the pattern on a hindwing. A beautiful photo of the wrong angle is useless. Work outward from the whole subject to the deciding detail, and take more angles than feel necessary. [4]
- The whole subject in frame, in focus, before any close detail
- The one diagnostic feature: tail, underside, leaf arrangement, wing pattern
- Multiple angles — the deciding trait is often not the pretty one
- For stationary signs, fungi, or plants, include a ruler or familiar object without touching; for live animals, use habitat and context rather than approaching for scale
Sharing has consequences
A photograph carries a location. For sensitive, rare, or nesting species, publishing precise coordinates can bring a crowd — so strip location data before sharing, and describe the region rather than the spot. Birds New Zealand's code says it outright: remove GPS geotags. The infrastructure agrees where it can — BirdLife Australia's Birdata automatically suppresses locations for sensitive species, because the record is worth having and the coordinates are not worth publishing. It is the same reason Fauna's own guides never publish nest or den coordinates. [6][7]
- Strip embedded EXIF GPS coordinates before posting photographs of owls, raptors, rare orchids, or herps on social media
- Use geoprivacy or obscured coordinates when submitting sensitive observations to citizen-science platforms
- Delay sharing vulnerable roost or den sightings until after the breeding or wintering season has ended
Get Fauna and identify it in the field.
Where this guide comes from
Source-checked editorial guide. Last updated . This guide teaches identification and field skills; it is not a substitute for expert verification when it matters.
- National Audubon Society — Guide to Ethical Bird Photography and Videography ↗
- National Park Service — Ethical Wildlife Photography, San Juan Island NHP ↗
- National Park Service — Keep Safety In The Picture ↗
- iNaturalist — How to Take Identifiable Photos ↗
- North American Nature Photography Association — Principles of Ethical Field Practices ↗
- Birds New Zealand (Ornithological Society of NZ) — Code of Conduct for the Photography of Birds ↗
- BirdLife Australia — Ethical Birdwatching Guidelines ↗
- New Zealand Department of Conservation — Drone operating conditions ↗